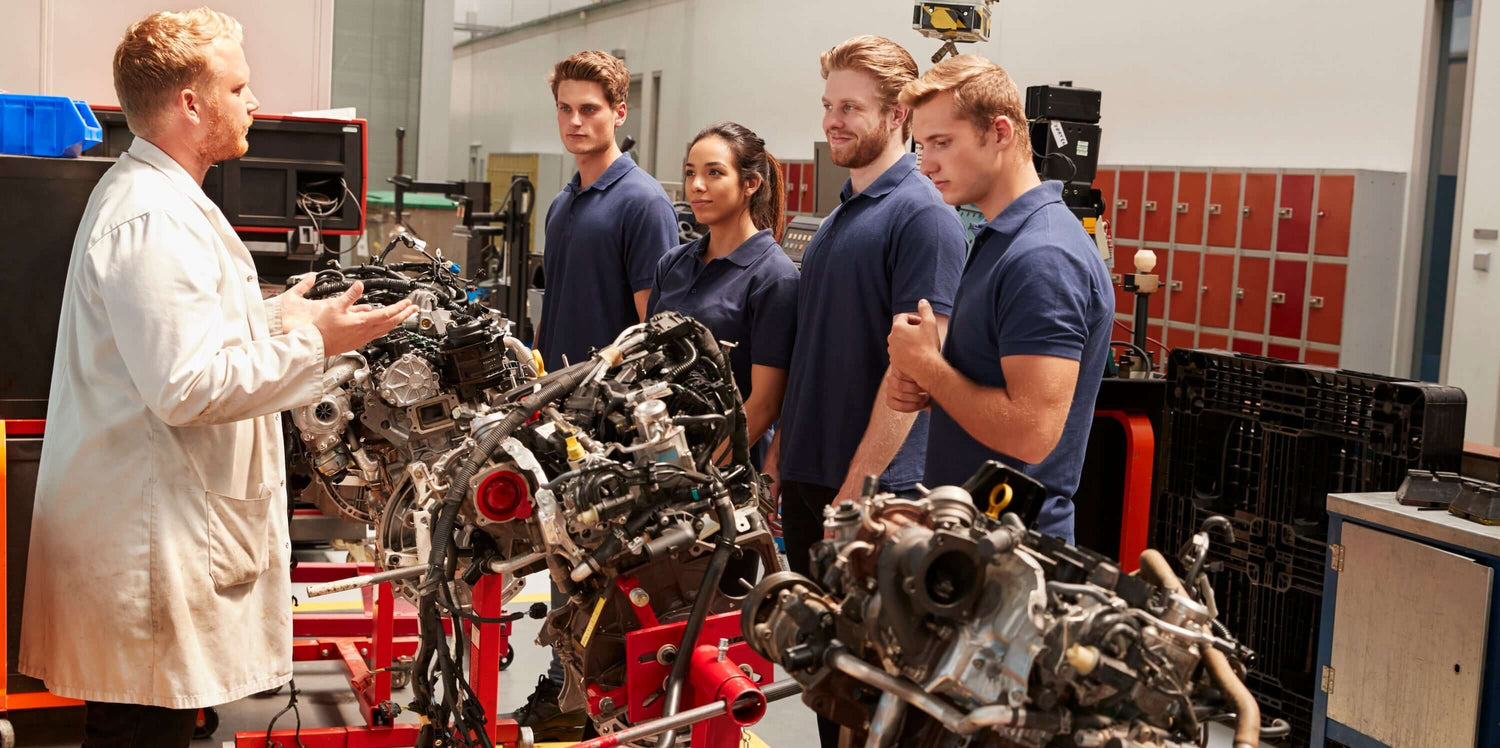
Scion installations occupy a particular space in the US aftermarket. The brand stopped producing new vehicles in 2016, but the existing fleet — tC, xB, xA, xD, iQ, FR-S — remains active on US roads with the enthusiast community treating these as the affordable Toyota-engineered platform they always were. Scion engines are mostly Toyota engines in different chassis, which means the install procedures borrow heavily from Toyota practice while having Scion-specific chassis considerations.
This 2026 guide is the playbook our techs use when a Scion long block lands on the bay.
Identify What You're Installing
Scion's engine catalog is essentially a Toyota engine catalog applied to Scion chassis. The major engines: 2AZ-FE 2.4L four-cylinder (in tC, xB second-generation), 1AZ-FE 2.0L four-cylinder (in xB first-generation, xA, some tC variants), 2ZR-FE 1.8L four-cylinder (in xD), 1NR-FE 1.3L four-cylinder (in iQ), and the FA20 / FA20D 2.0L flat-four (in FR-S — a Subaru-derived engine in a Toyota/Subaru joint development).
The seventeenth digit of the VIN identifies the engine code. Cross-reference against the model year specification chart. Then physically inspect the engine and verify casting numbers match.
For 2AZ-FE applications specifically, this matters substantially. The 2AZ-FE has documented head bolt issues that affect specific production years. Verify whether the replacement engine has addressed this.
For FR-S applications, the FA20 engine is mechanically a Subaru engine despite being installed in a Toyota/Scion chassis. The engine code (4U-GSE in some Toyota nomenclature, FA20 in Subaru nomenclature) is the same engine. Confirm the source and rebuild scope before ordering.
Pre-Install Inspection
Inspect the replacement engine on the stand before installation. Rotate the crankshaft one full turn by hand.
For 2AZ-FE applications, evaluate whether the cylinder head bolt issue was addressed in the rebuild scope. The original-spec head bolts are documented to pull threads in the aluminum block, producing head gasket failures. A reman that addressed this with thread inserts or block updates is the right starting point.
For FA20 applications, the rebuild scope should address the boxer-engine-specific considerations — valve spring issues on some production years, oil consumption on early-production variants.
Pulling the Old Engine
Scion chassis engine bays vary by platform. tC and xB applications use transverse-mounted four-cylinders in conventional Toyota-style engine bays — reasonable access for engine pulls. The FR-S uses a longitudinally-mounted flat-four with the boxer engine architecture, which means a different access pattern than typical inline four-cylinders.
For transverse Scion applications, the engine and transmission typically come out as an assembly through the bottom on most platforms.
For FR-S applications, the longitudinal flat-four follows Subaru-style removal procedures — the engine can come out from above with the transmission staying in place on most configurations.
Disconnecting the Wiring
Scion uses Toyota-pattern wiring connectors. Same conventions as Toyota engines. Photograph every connector. Label with painter's tape.
For FA20 / FR-S applications, the engine harness has Subaru-specific characteristics in addition to Toyota considerations because of the joint engineering.
Prepping the New Engine on the Stand
Transfer accessory brackets, alternator, water pump, A/C compressor. Use new Toyota-specific bolts where the service procedure specifies.
For 2AZ-FE applications, this is the right time to verify the head bolt situation has been addressed in the rebuild scope.
For FA20 applications, valve clearance verification should be done before installation if the rebuild scope didn't include it.
The Drop-In
Lower the engine into the bay carefully. Engine mount bolts go in finger-tight initially, torqued after settling.
Wiring and First Start
Before first crank, connect a scan tool capable of communicating with Toyota/Scion ECUs. Verify sensor data.
For first crank, pull fuel pump relay, crank for ten to fifteen seconds to build oil pressure. At least 25 psi within seven seconds.
Reset fuel. Let engine fire. Don't rev. Watch scan tool for first five minutes of idle.
Break-In and First 500 Miles
Walk the customer through break-in. First 30 minutes of varied-speed driving. First 500 miles avoid full-throttle operation, sustained high RPM, aggressive cold starts.
Schedule a 500-mile return for the first oil change. Use Toyota-specified oil viscosity.
What Sets Clean Scion Installs Apart
Verify casting numbers. Address platform-specific known issues (2AZ-FE head bolts, FA20 valve springs on affected production years). Use Toyota-specific torque values. For sourcing the long block, our Scion engines catalog publishes casting numbers and platform fitment.