
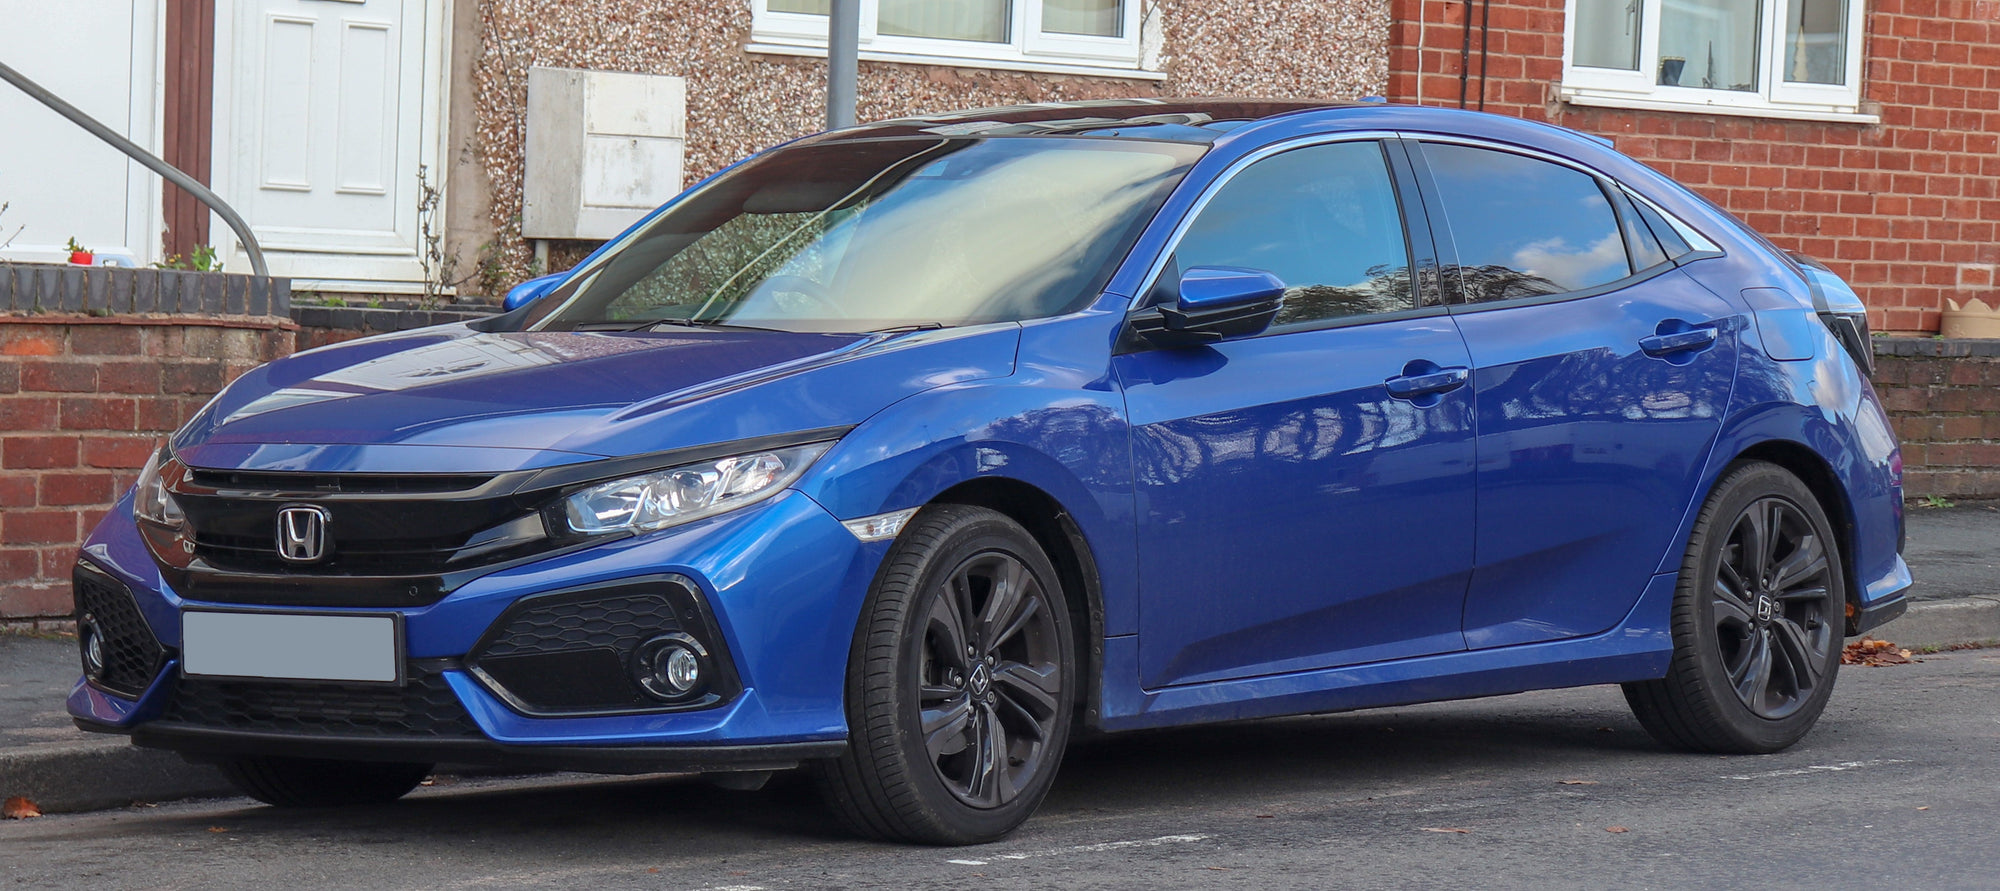
A 2017–2021 Honda Civic engine can still fail from high mileage, overheating, or mechanical failure. If your Civic needs a new engine, a step-by-step approach keeps the replacement safe and correct. At Power Engines, we supply the 1.5L L15B turbo replacement engine for this Civic.
Preparation and Tools Required
Before beginning, gather the essentials: an engine hoist, hydraulic jack, jack stands, torque wrench, complete metric socket and wrench set, screwdrivers, pliers, drain pans, replacement fluids (engine oil, coolant, transmission fluid), and protective gloves. Always disconnect the battery before working on the car, and park the Civic on a level surface.
Step 1: Remove the Hood and Drain Fluids
Unbolt the hood for full access to the engine bay. Drain the engine oil, coolant, and transmission fluid into proper containers. This prevents spills and allows you to start fresh when the new engine is installed.
Step 2: Disconnect Wiring and Fuel Lines
Label all wiring harnesses, sensors, and vacuum hoses for easy reinstallation. Relieve fuel system pressure, then disconnect the fuel lines. Careful labeling and photos during this process make reassembly far easier.
Step 3: Remove Accessories and Cooling System
Detach the alternator, starter motor, power steering pump, and A/C compressor. Where possible, secure them aside in the bay without disconnecting fluid lines. Remove the radiator, cooling fan, and hoses to clear space for engine extraction.
Step 4: Disconnect Exhaust and Transmission
Unbolt the exhaust manifold and catalytic converter from the engine. Support the transmission with a jack or stand, then remove the bolts securing it to the engine block. Automatic Civics require disconnecting torque converter bolts, while manual models involve detaching the clutch assembly.
Step 5: Remove Motor Mounts and Lift the Engine
Unbolt the motor mounts. Attach the engine to the hoist using secure lifting points, then carefully lift it out of the bay. Check that all connections are free to avoid damaging hoses or wiring.
Step 6: Prepare the Replacement Engine
Transfer components such as intake and exhaust manifolds, sensors, brackets, and turbochargers (for Civic Si models) from the old engine to the new one. Always replace gaskets, seals, and belts during this step. Power Engines supplies Honda replacement engines for the Civic as bare long blocks, so plan to move these parts over from your old engine.
Step 7: Install the New Engine
Lower the replacement engine into the bay with the hoist, aligning it with the transmission and motor mounts. Tighten bolts to manufacturer torque specifications. Reconnect the exhaust, transmission, and all previously removed accessories.
Step 8: Reconnect Wiring, Fuel, and Cooling Systems
Reattach wiring harnesses, fuel lines, and vacuum hoses according to your labels and photos. Reinstall the radiator, hoses, and cooling fan. Fill with fresh fluids: engine oil, coolant, and transmission fluid.
Step 9: Test and Break-In
Reconnect the battery and turn the ignition to ON, allowing the fuel pump to pressurize the system. Start the engine and let it idle, checking for leaks, unusual noises, or warning lights. During the first 500 miles, avoid hard acceleration or high RPMs. Change the oil after the break-in period.
Base, turbocharged and Civic Si models do not all share one engine, so confirm your engine code and VIN digit before you order a replacement from Power Engines.