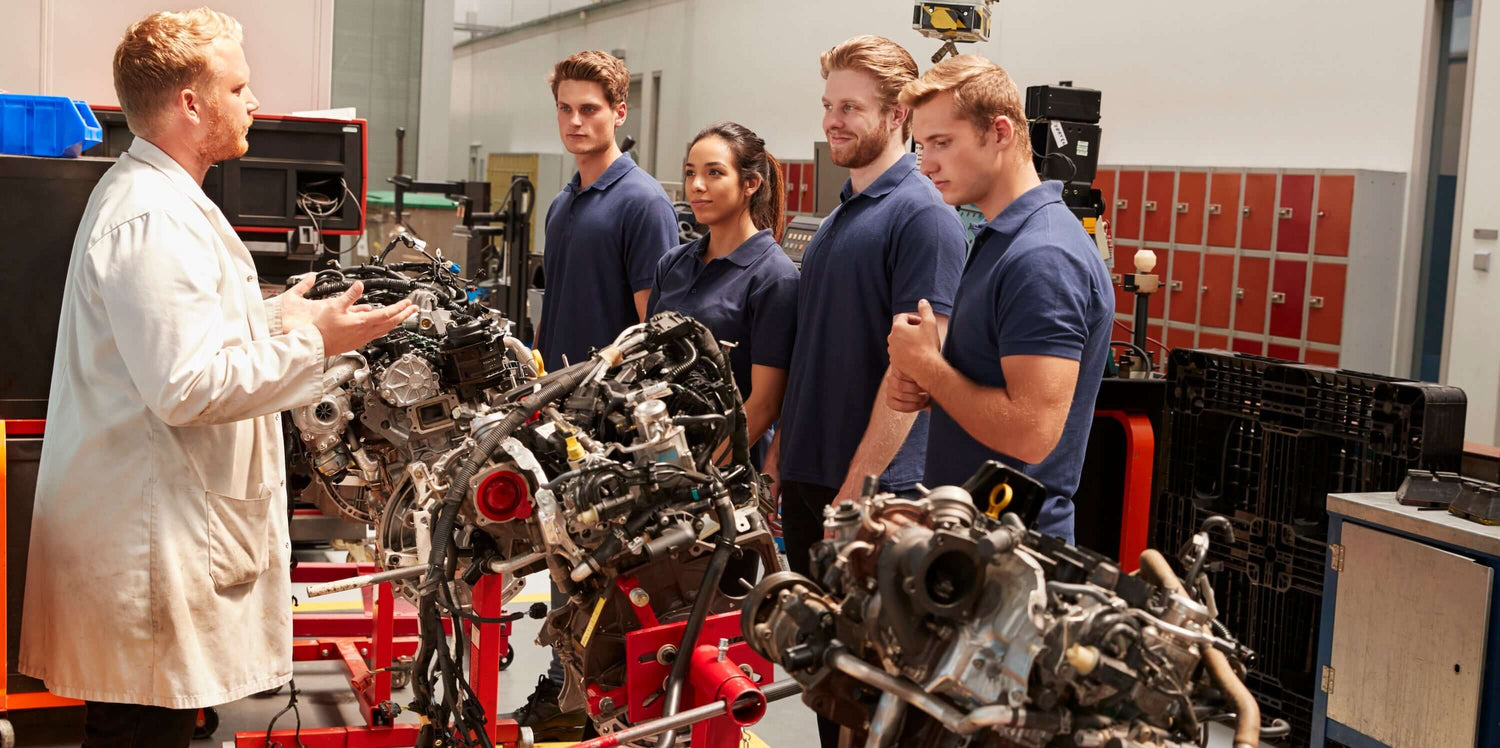

Pulling a Pontiac engine varies substantially based on platform and era. Modern Pontiac applications (G8, GTO, Grand Prix) follow GM truck and sedan practice. Classic Pontiac muscle car applications follow conventional 1960s-1970s engine pull procedures, generally simpler than modern but with their own specific considerations.
Here's the prep-and-removal sequence experienced Pontiac shops use.
Before You Start
Have ready: clean workbench, zip-top bags and sharpie, engine stand rated for at least 1,000 pounds (1,200+ for classic Pontiac V8) with correct adapter, engine hoist with load leveler, transmission jack, drain pans, rags, good lighting.
Tools specific to modern Pontiac work: standard SAE and metric sockets, GM-capable scan tool (Tech 2, MDI, or aftermarket equivalent).
Tools specific to classic Pontiac work: standard SAE sockets, distributor wrench, timing light, basic carburetor tools.
Step 1: Photograph Everything
For modern Pontiac applications, fifty to eighty photos covering wiring, accessory routing, emissions equipment.
For classic Pontiac applications, photos cover distributor position, vacuum line routing, accessory bracket configuration. Simpler than modern but the photos still pay off.
Step 2: Drain Fluids
Coolant first. For modern Pontiac, Dex-Cool. For classic Pontiac, green or appropriate to the system.
Engine oil second.
Step 3: Battery and Fuel
Negative terminal first.
For modern Pontiac fuel-injected applications, relieve fuel system pressure before disconnecting lines.
For classic Pontiac carbureted applications, drain the carburetor float bowl if removing the carburetor with the engine.
Step 4: Remove Accessories
For modern Pontiac: air intake, alternator, A/C compressor, power steering pump, exhaust manifolds. Standard GM procedure.
For classic Pontiac: air cleaner assembly, carburetor (or leave on the engine for transfer), distributor, alternator, exhaust manifolds. Mark distributor position before removal.
Step 5: Wiring Harness
For modern Pontiac, GM-pattern connector locks. Label every connector.
For classic Pontiac, the wiring is much simpler. Document the few connections: ignition coil, starter, alternator, sensors (where applicable). Take photos.
Step 6: Cooling and Subframe
Remove radiator, hoses, fan assembly.
For modern Pontiac applications, additional cooling system components specific to the platform.
Step 7: Separate the Transmission
For automatic transmission applications, mark torque converter to flexplate. Remove converter bolts through bell housing access hole.
For classic Pontiac with manual transmissions, the clutch and flywheel come off with the engine or separately.
Support the transmission with a jack stand.
Step 8: The Lift
For modern Pontiac, attach hoist chains to GM-specified lift points.
For classic Pontiac, the lift points are typically the front and rear corners using lifting plates or chains through head bolt holes (with appropriate spacing).
Use a load leveler.
Step 9: Mount on Stand
For classic Pontiac V8 (which weighs 600-700 pounds), use a rated engine stand. Classic Pontiac V8 has a heavier-than-typical small-block weight.
Prep Tips for the Install
For modern Pontiac with AFM applications, address AFM lifters during prep if not already addressed.
For classic Pontiac V8 rebuilds, verify the rebuild includes appropriate specs for the intended use (street driving versus performance versus restoration). Cam selection, head specifications, and compression ratio all need to match the build intent.
Before the new engine arrives, verify fitment against casting numbers. Sourcing from our Pontiac engine catalog with documented codes removes this question before the engine ships.