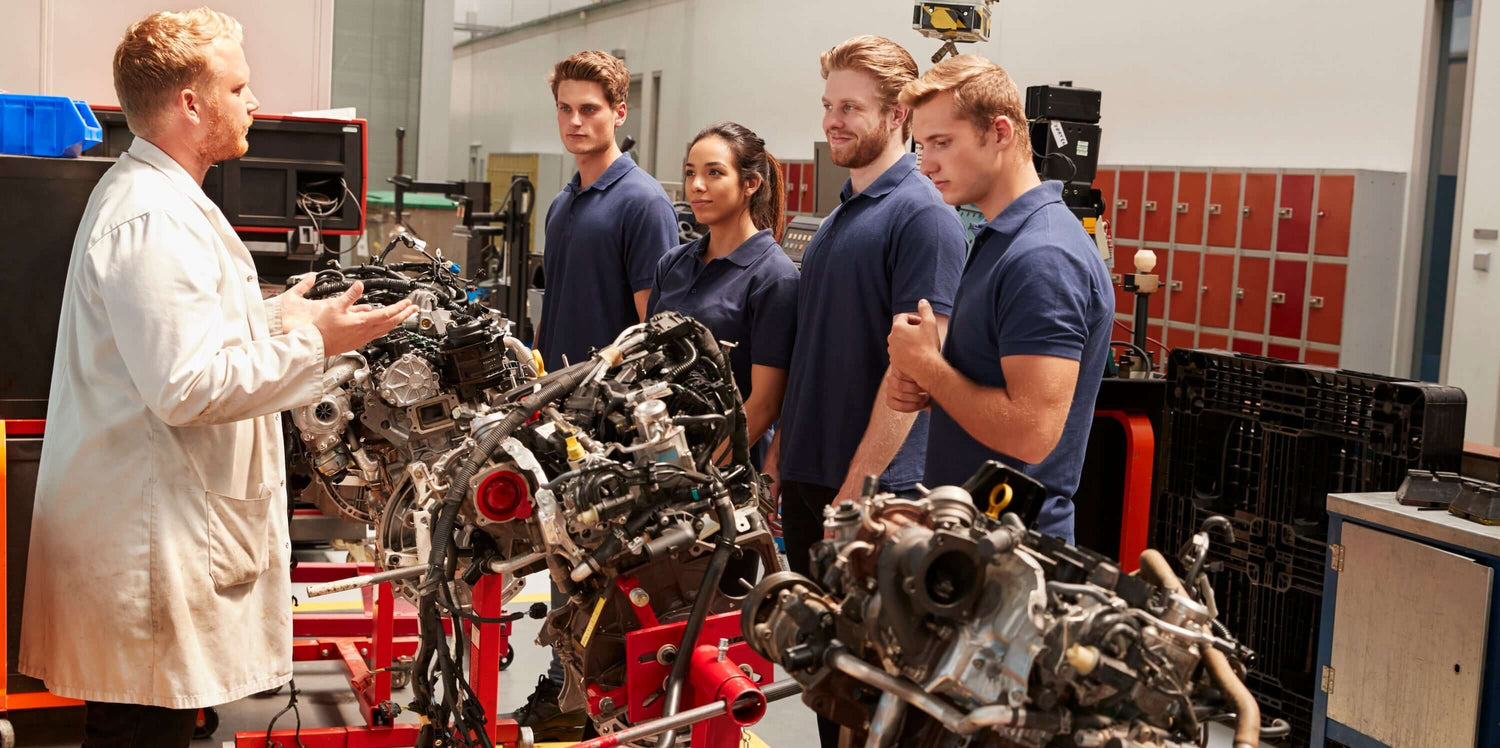

Chevrolet engine installations cover one of the broadest catalogs in the entire US aftermarket. The lineup spans the iconic small-block V8 family (LS / LT and the older Gen I and Gen II small-blocks), the big-block V8 family (396, 427, 454, 502), the Vortec V6 and V8 platforms used across Silverado and Tahoe applications, the Duramax 6.6L V8 diesel, and the more recent Ecotec four-cylinder family. The shared GM architecture with GMC means many of the engines are mechanically identical, but the Chevrolet chassis range — Camaro, Corvette, Silverado, Tahoe, Suburban, Express, Colorado, Equinox, Malibu — introduces chassis-specific considerations.
This 2026 guide is the playbook our techs reach for when a Chevrolet long block lands on the bay.
Identify What You're Installing
The major engines in Chevrolet's modern catalog: small-block LS family (LS1, LS2, LS3, LS6, LS7, LSA, LS9), the LT family (LT1, LT4, LT5, L86, L87), Vortec V8 (LM7, LMG, LH6, LY5, L83, L84, L96, LY6, others), Vortec V6 (4.3L LV3, LU3, LV1), Duramax 6.6L diesel, Ecotec four-cylinder family (LSY, LTG, LCV, others), and various big-block V8 applications in older Suburban and Express truck variants.
The eighth character of the Chevrolet VIN identifies the engine code. Cross-reference against GM's specification chart for the model year. Then physically check the casting numbers on the block and heads.
For LS swap projects specifically, this matters enormously. The LS family has dozens of production variants with substantial internal differences — deck height, head design, intake manifold style, fueling system.
Pre-Install Inspection
Inspect the replacement engine on the stand. Rotate the crankshaft one full turn by hand.
For LS-family AFM applications (LMG, LH6, LY5, L83 in pickup-shared variants), evaluate AFM lifter condition on a reman unit. The AFM lifter issue is well-documented across GM truck applications.
For LT-family applications (L86, L87) with DFM, evaluate the lifter condition similarly.
For LT1 Corvette and Camaro applications, evaluate the AFM status — some LT1 production years have AFM, others don't.
For Duramax applications, evaluate injector condition, high-pressure fuel pump status, and emissions equipment.
Pulling the Old Engine
Chevrolet engine bays vary enormously across the lineup. Camaro and Corvette applications have engines coming out from above with reasonable access on most generations, though C7 and C8 Corvette applications have specific procedures. Silverado and Tahoe follow GM truck conventions. Suburban and Express have larger engine bay access. Equinox and Malibu transverse applications drop the engine and transmission as an assembly through the bottom on some configurations.
Disconnecting the Wiring
Chevrolet uses GM-pattern connector locks. Primary press-tab plus secondary slide-lock. Photograph every connector. Label with painter's tape.
For LS-family AFM applications, the AFM solenoid pack connector requires careful attention.
For LT-family direct-injection applications, the high-pressure fuel pump connector requires careful handling.
For Duramax applications, the additional diesel-specific connectors all need careful documentation.
Prepping the New Engine on the Stand
Transfer accessory brackets, alternator, water pump, A/C compressor. Use new GM-specific bolts where the service procedure specifies.
For Corvette and Camaro applications, replace spark plugs and consider ignition coil condition. Install a new oil filter and pre-fill oil galleries.
For LS swap projects, the prep involves additional accessory bracket fabrication or sourcing depending on the swap target.
The Drop-In
Lower the engine into the bay carefully. Engine mount bolts go in finger-tight initially, then torqued after settling.
For Corvette applications, the lift involves specific procedures depending on whether the chassis stays in place or drops with the engine cradle.
Wiring, Fuel, and First Start
Before the first crank, connect a GM-capable scan tool. Verify sensor data.
For Duramax diesel applications, follow diesel-specific start procedure.
For first crank, pull fuel pump relay, crank for ten to fifteen seconds to build oil pressure. At least 25 psi within seven seconds.
Reset fuel, let engine fire. Don't rev. Watch scan tool for first five minutes.
Break-In and First 500 Miles
Walk the customer through break-in. First 30 minutes of varied-speed driving in the 25–55 mph range. First 500 miles avoid full-throttle operation, sustained high RPM, aggressive cold starts.
For Corvette and Camaro applications, the break-in window is particularly important — these are performance vehicles owners will want to use, and the 500-mile discipline preserves long-term reliability.
For Vortec AFM applications, consider disabling AFM during break-in.
Schedule a 500-mile return for first oil change. Use GM-specified oil (dexos1 Gen 2 for gasoline, dexos2 for Duramax).
What Sets Clean Chevrolet Installs Apart
Verify casting numbers and engine codes. Address platform-specific known issues (LS AFM lifters, LT DFM components, Duramax fueling). Use GM-specific torque values. Confirm sensor data before first crank.
For sourcing the long block, our Chevrolet engines catalog publishes casting numbers and platform fitment so the verification step happens before purchase.