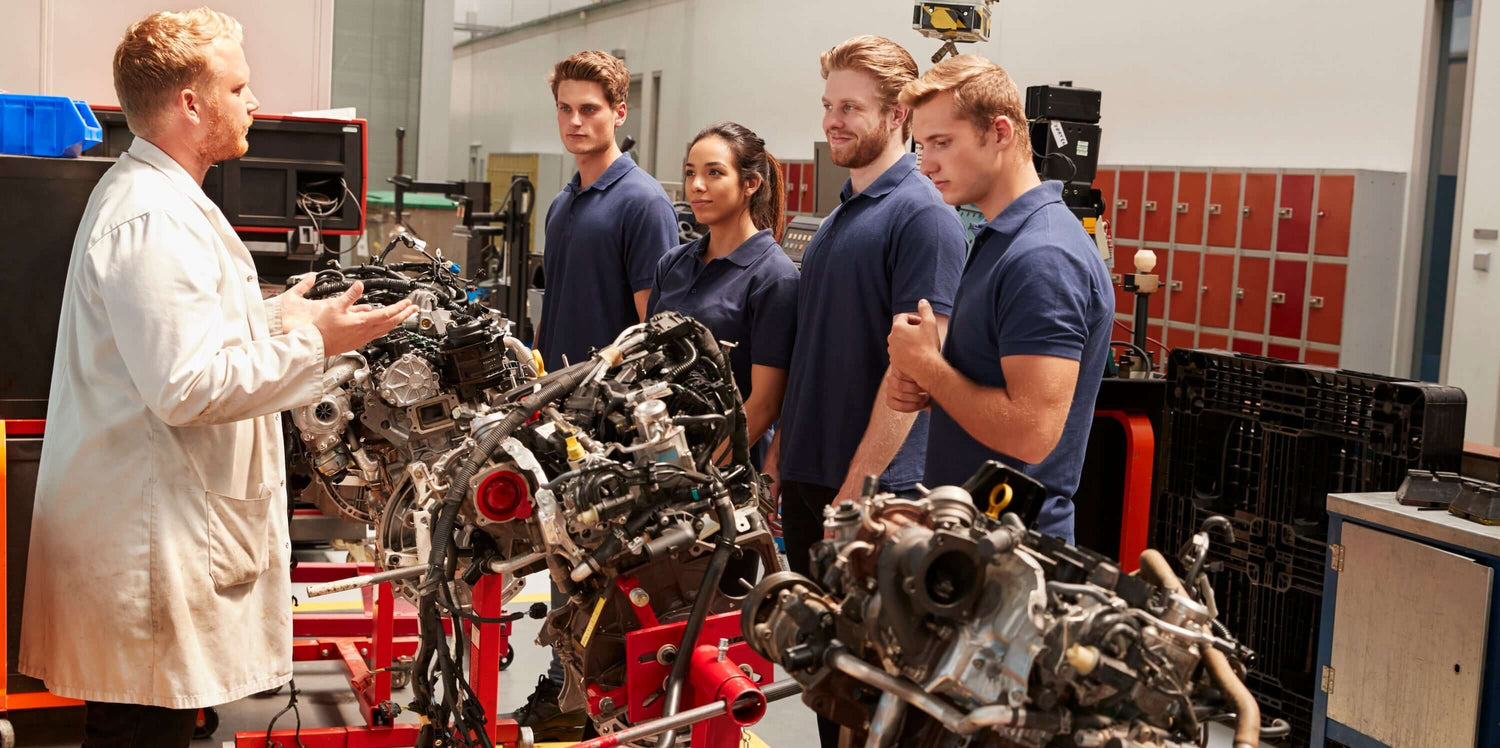
Pulling a Lexus engine follows Toyota practice with Lexus-specific chassis considerations. The Lexus engine bays are typically tighter than Toyota equivalents due to luxury packaging — sound insulation, additional accessory hardware, more comprehensive cooling systems. The work is achievable for experienced techs with the right tools and patience.
Here's the prep-and-removal sequence.
Before You Start
Have ready: clean workbench, zip-top bags and sharpie, engine stand rated for at least 1,000 pounds (1,500+ for V8 applications) with correct adapter, engine hoist with load leveler, transmission jack, drain pans, rags, good lighting.
Tools specific to Lexus work: Toyota-pattern Torx and JIS bit kits, harmonic balancer holding tool, Toyota/Lexus-capable scan tool (Techstream or equivalent).
Step 1: Photograph Everything
Walk around the engine bay with a phone camera. Sixty to eighty photos minimum on Lexus due to engine bay density.
For F Performance applications, photograph the additional cooling system and exhaust components.
Step 2: Drain Fluids
Coolant first. Lexus cooling systems are typically pressurized through the radiator cap or expansion tank. Use Toyota-specified Pink coolant (Super Long Life) for refill.
Engine oil second.
Step 3: Battery and Fuel
Negative terminal first. Relieve fuel system pressure before disconnecting fuel lines.
For Lexus direct-injection applications (2GR-FSE, 1UR-FSE), the high-pressure fuel system requires careful handling. Wait at least 10 minutes after engine shutoff before opening any high-pressure line.
Step 4: Remove Accessories
Work top-down. Air intake assembly off. Engine cover off. Serpentine belt off, routing marked. Alternator unbolted. A/C compressor unbolted and tied back. Power steering pump unbolted and tied back (where applicable; many modern Lexus applications use electric power steering).
Exhaust manifolds off, after overnight penetrating oil soaking.
Step 5: Wiring Harness
Photos pay off. Toyota-pattern connector locks. Label every connector with painter's tape.
For V8 applications, the additional connectors from V8 architecture and Lexus-specific accessories need careful tracking.
Step 6: Cooling and Subframe
Remove radiator hoses, heater hoses, auxiliary cooling lines. For Lexus SUV applications and transverse-engine cars, the engine and transmission may come out as an assembly through the bottom.
For RWD Lexus applications (LS, GS, IS, RC, F Performance variants), the engine comes out the top with the transmission staying in place or coming separately depending on configuration.
Step 7: Separate the Transmission
For automatic transmission applications, mark torque converter to flexplate before unbolting. Remove converter bolts through bell housing access hole.
Support the transmission with a jack stand or transmission jack.
Step 8: The Lift
Attach engine hoist chains to Toyota-specified lift points. Load leveler in use. Lift slowly.
Step 9: Mount on Stand
Mount the engine on the stand. All four bolts. Inventory transferring parts.
Prep Tips for the Install
Lay parts in install order. Replace every wear item you can. For 2GR-FE applications, verify the oil line has been addressed on the replacement engine if applicable.
Before the new engine arrives, verify fitment against casting numbers. Sourcing from our Lexus engine catalog with documented engine codes removes this question before the engine ships.