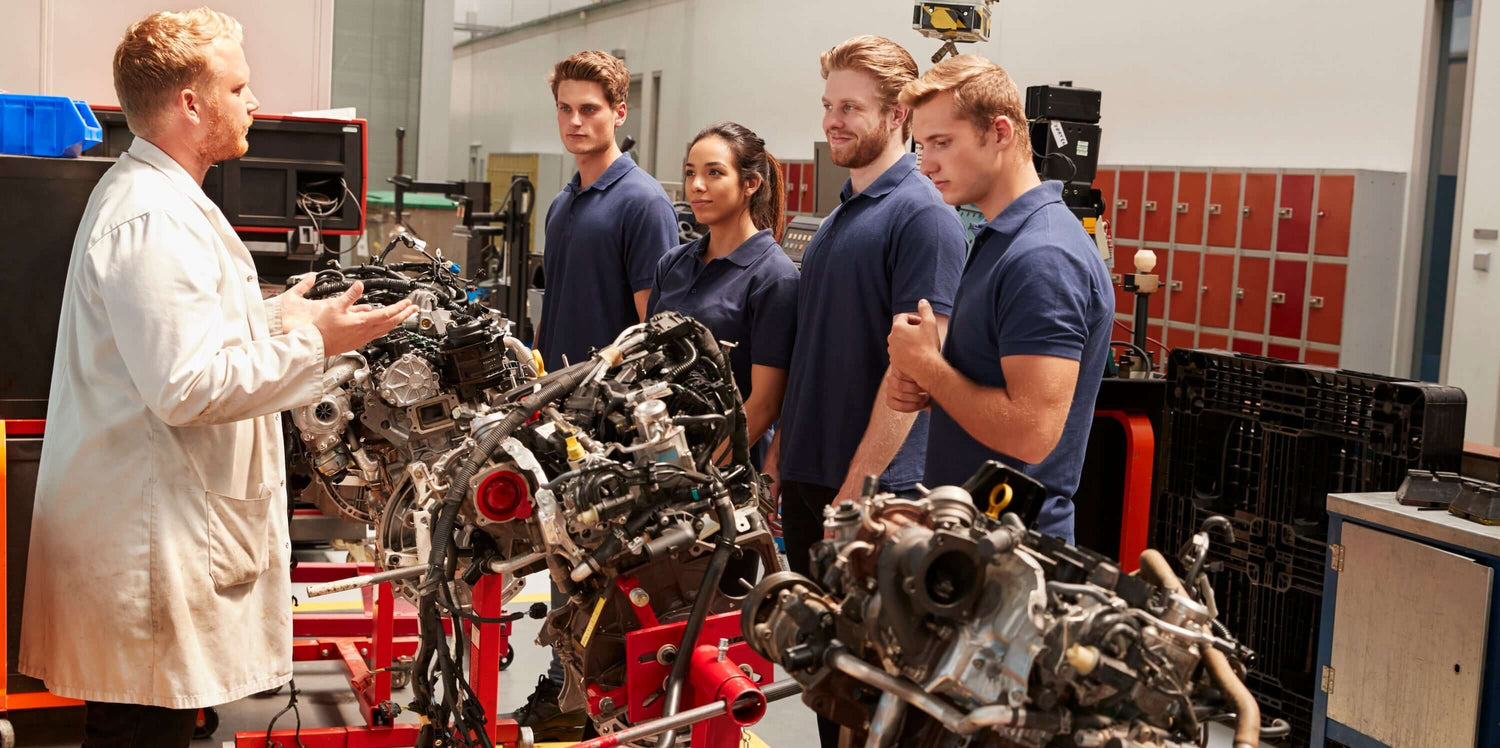

Pulling a GMC engine is one of the more straightforward jobs in the US aftermarket for most platforms. GM truck engine bays are reasonably accessible, the lift points are well-documented, and the aftermarket has extensive parts and tool support. Duramax applications add complexity due to engine weight and diesel-specific fueling system handling. Vortec AFM applications add the lifter-addressing step during prep.
Here's the prep-and-removal sequence experienced GM specialists use.
Before You Start
Have ready: clean workbench, zip-top bags and sharpie, engine stand rated for at least 1,000 pounds for Vortec V8 (1,500+ for Duramax) with correct adapter, engine hoist with load leveler and rated chains, transmission jack, drain pans, rags, good lighting.
Tools specific to GMC work: standard SAE and metric sockets, harmonic balancer holding tool, GM-capable scan tool (Tech 2, MDI, or aftermarket equivalent).
For Duramax applications, additional diesel-specific tools and rated lift equipment.
Step 1: Photograph Everything
Walk around the engine bay with a phone camera. Fifty to eighty photos minimum.
For Duramax applications, photograph the complete fuel system, EGR system, DPF/SCR routing, and emissions equipment.
For AFM-equipped Vortec applications, photograph the AFM solenoid pack location and routing.
Step 2: Drain Fluids
Coolant first. Most modern GMC applications use Dex-Cool. Drain into clean containers if you plan to reuse — fresh Dex-Cool is cheap, used Dex-Cool is contaminated.
Engine oil second.
For Duramax applications, drain fuel from the fuel filter housing.
Step 3: Battery and Fuel
Negative terminal first.
Relieve fuel system pressure before disconnecting fuel lines. For Vortec applications, this is standard. For Duramax applications, the high-pressure fuel system requires careful handling — wait at least 10 minutes after shutoff.
Step 4: Remove Accessories
Work top-down. Air intake off. Engine cover off. Serpentine belt off, routing marked. Alternator unbolted. A/C compressor unbolted and tied back. Power steering pump unbolted and tied back (hydraulic applications).
Exhaust manifolds off, after overnight penetrating oil soaking.
For Duramax applications, the turbocharger plumbing and intercooler come off in a specific order.
Step 5: Wiring Harness
Photos pay off. GM-pattern connector locks. Label every connector with painter's tape.
For AFM-equipped Vortec applications, identify the AFM solenoid pack connector specifically for re-routing.
For Duramax applications, the additional connectors for injectors, EGR, DPF, and SCR all need tracking.
Step 6: Cooling and Subframe
Remove coolant hoses, transmission cooler lines, EGR system cooling lines (Duramax), oil cooler lines.
Step 7: Separate the Transmission
For automatic transmission applications, mark torque converter to flexplate before unbolting. Remove converter bolts through bell housing access hole.
Support the transmission with a jack stand or transmission jack before unbolting the bell housing.
Step 8: The Lift
Attach engine hoist chains to GM-specified lift points. Use a load leveler.
For Duramax applications, the lift weight is substantial and rated equipment is non-optional.
Step 9: Mount on Stand
Mount the engine on the stand. All four bolts. Inventory transferring parts.
Prep Tips for the Install
Lay parts in install order. Replace every wear item you can. For Vortec AFM applications, address the AFM lifter situation during prep if the replacement engine doesn't already have it addressed.
For Duramax applications, verify fuel filter and water separator condition. Address the CP4 fuel pump concern on applicable variants.
Before the new engine arrives, verify fitment against casting numbers. Sourcing from our GMC engine catalog with documented engine codes removes this question before the engine ships.