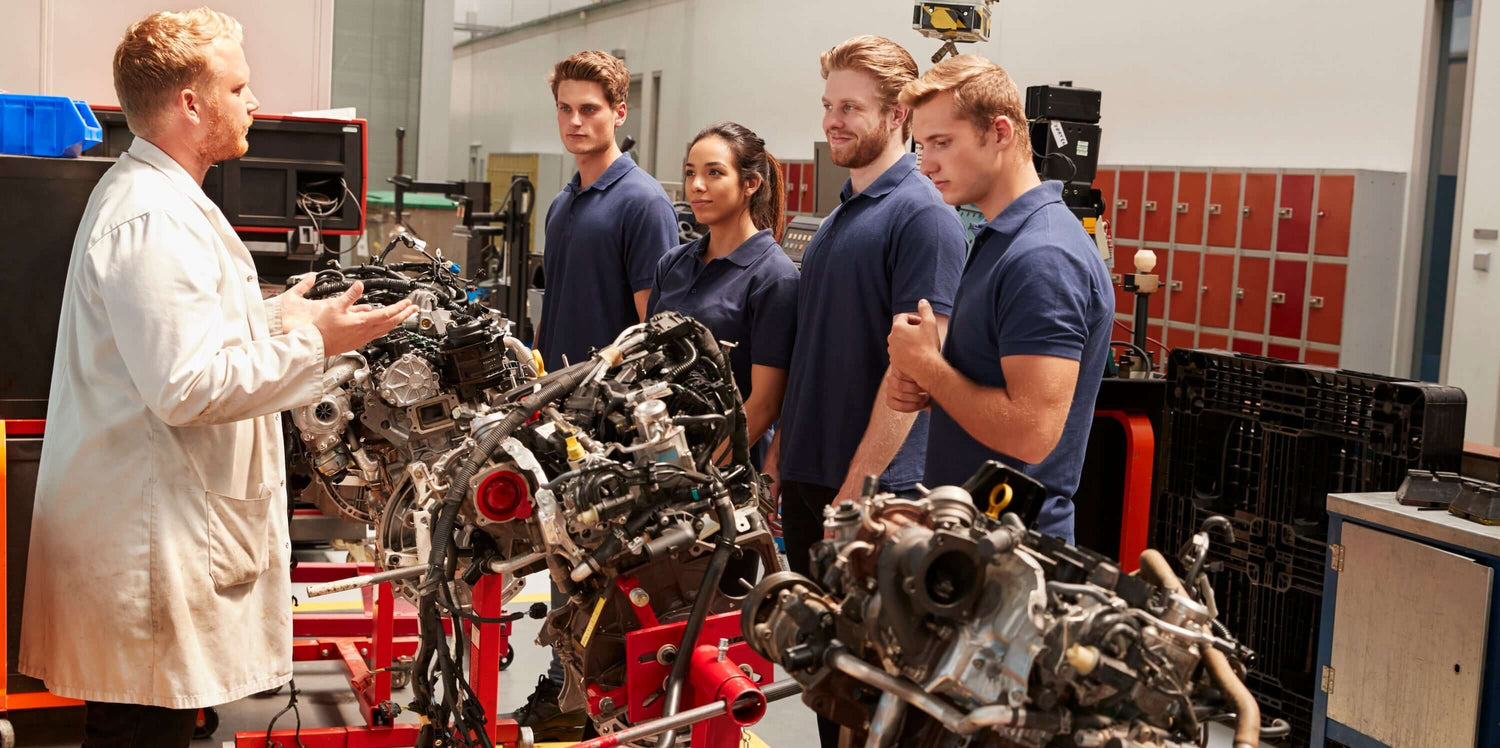

Pulling a Dodge engine isn't one job — it's several different jobs depending on which engine and which platform you're working on. A 5.7L HEMI out of a Charger comes out the top with reasonable access. The same engine out of a Durango is a tighter fit with more disassembly. A 3.6L Pentastar in a transverse-mount minivan application drops out the bottom with the subframe. A 5.9L Cummins out of a Ram heavy-duty is a heavy-equipment exercise that demands rated lift gear and careful planning. Treating these as the same job is how schedule overruns happen.
This walkthrough covers the prep-and-removal sequence experienced shops use across the major Dodge platforms, with the family-specific notes that make each one go cleanly.
Before You Start
Spend the first hour on prep, not on bolts. Have ready: a clean workbench or shelving for parts; gallon zip-top bags and a sharpie for fastener groups; an engine stand rated for the engine you're pulling (1,000-pound stand for HEMI and Pentastar applications, 1,500-pound or better for Cummins diesel applications); an engine hoist with a load leveler and rated chains; a transmission jack; drain pans for coolant, oil, and on diesel applications, fuel.
For Cummins diesel applications specifically, confirm the lift equipment is rated for the actual engine weight — 5.9L Cummins runs 1,100–1,300 pounds, 6.7L Cummins runs 1,200–1,400 pounds depending on configuration. A standard 1-ton engine hoist with a single hook is at the edge of its rating with these engines and a load leveler is non-optional, not a convenience.
Tools the average home garage doesn't have but ends up needing on Dodge pulls: long-reach Torx bit kit (Dodge bell housing bolts and various brackets use E-Torx and internal Torx in tight spots), 8mm flex-head ratchet for buried accessory bolts, harmonic balancer holding tool sized for your specific engine, and a scan tool capable of communicating with Dodge PCMs.
Step 1: Photograph Everything
Before disconnecting anything, walk around the engine bay with a phone camera and take fifty photos. Cover every angle. Vacuum line routing, every connector orientation, every hose clamp position, accessory belt routing. Photograph ground straps where they land on the block, the firewall, the chassis.
For HEMI applications with MDS, photograph the MDS solenoid pack connector orientation carefully. The MDS connectors are easy to misroute on reinstall and the consequences are immediate driveability issues.
For Cummins applications, photograph the entire fuel system routing — high-pressure lines, low-pressure lines, return lines, fuel filter housing connections. The diesel fuel system has more lines than a gasoline application and the routing matters for serviceability after reassembly.
Step 2: Drain Fluids
Coolant first. Let the engine cool completely. Open the radiator cap (or degas bottle cap on platforms without a traditional radiator cap), position a drain pan under the lower radiator hose, and crack the connection. Drain coolant fully. On most Dodge V8 applications there's also a block drain plug on the side of the block — cracking that plug catches coolant trapped in the block galleries.
Engine oil second. Drain the crankcase before the pull. The engine is heavier than it needs to be with oil in it.
For Cummins diesel applications, drain coolant from both the radiator and the block. The coolant capacity on Cummins applications is substantially larger than gasoline V8s, and the block drain location varies by engine variant — check the service procedure. Also drain fuel from the fuel filter housing into a dedicated container; diesel fuel in regular waste oil is a problem at most recycling facilities.
Step 3: Battery and Fuel
Disconnect negative terminal first, then positive. Remove the battery entirely.
For gasoline applications, relieve fuel system pressure before disconnecting any fuel line. Pull the fuel pump fuse or relay (check the underhood fuse box diagram), run the engine until it stalls. Cap or plug fuel lines immediately as they disconnect.
For Cummins diesel applications, the high-pressure fuel system requires more careful handling. Common-rail diesel systems hold extremely high pressure (15,000+ psi during operation) and bleed slowly. Wait at least 10 minutes after engine shutoff before opening any high-pressure line. Use proper line wrenches and absorbent material. Diesel fuel under pressure can inject through skin — this isn't an abstract safety warning, it's a real consideration on these systems.
Step 4: Remove Accessories
Work top-down. Air intake assembly off including intake tube and MAF housing. Engine cover off if equipped. Serpentine belt off, with routing marked. Alternator unbolted and lifted off. A/C compressor unbolted and tied back without disconnecting refrigerant lines. Power steering pump unbolted and tied back similarly.
Exhaust manifolds off, after generous overnight soaking with penetrating oil on every stud. Dodge exhaust manifold studs on HEMI and Magnum engines are prone to snapping when removed dry. The same is true for the 5.9L Cummins exhaust manifold studs, except that Cummins manifold work is even more involved due to access and component size.
For HEMI applications, remove the intake manifold separately from the engine. The HEMI intake comes off relatively easily and removing it lightens the engine and exposes the lifters for inspection before the actual lift.
For Cummins applications, the turbocharger comes off before the engine lifts on most configurations. The intercooler plumbing, the wastegate or VGT actuator connections, and the oil and coolant lines to the turbo all need careful handling and documentation.
Step 5: Wiring Harness
Photos pay off here. Work methodically through every electrical connector, releasing locking tabs and pulling straight back. Dodge connectors use Chrysler-pattern locks — a primary press-tab with a secondary slide-lock that must be released before the primary tab.
Label every connector with painter's tape and a sharpie. The cam position sensors, the variable valve timing solenoids on VVT-equipped HEMI variants, and the various coolant sensors all use similar small connectors that are easy to misroute.
For HEMI applications with MDS, the MDS solenoid connectors deserve specific attention. Cross-routed MDS connectors after a swap produce immediate driveability issues that look like ignition or fueling problems but are actually cylinder deactivation failures.
For Cummins applications, the diesel engine harness has additional connectors for the high-pressure fuel pump, the injectors (eight on inline-six diesels with one per cylinder plus return circuits), the EGR system, and on emissions-equipped variants the DEF and SCR systems. The diesel harness has more connectors than a gasoline harness and the documentation discipline needs to scale accordingly.
The main engine harness on most modern Dodge applications routes through a firewall bulkhead. Locate it, release the locking mechanism, and pull the connector straight back.
Step 6: Cooling and HVAC
Remove radiator hoses, heater hoses (cap or plug heater core fittings), and any auxiliary cooling lines like the transmission cooler. On platforms with mechanical fans (older HEMI and Magnum applications), remove the fan and fan shroud before raising the hoist.
For Cummins applications, the cooling system has more components than a gasoline V8 — the intercooler core has its own coolant routing on some variants, the EGR cooler has its own coolant connections, and the engine oil cooler is a separate unit with coolant flow. Document all of it.
Step 7: Separate the Transmission
For automatic transmission applications, mark the torque converter to the flexplate before unbolting. Remove the converter bolts through the access hole at the bottom of the bell housing. Rotate the crank by hand to bring each bolt into view. Don't miss any — a single missed converter bolt holds the transmission firmly to the engine.
Support the transmission with a jack stand or transmission jack before unbolting the bell housing. For Cummins applications behind heavy-duty truck transmissions (Aisin AS69RC, 68RFE, and similar), the transmission is heavy enough that a regular jack stand is inadequate — use a rated transmission jack.
For Caravan and other transverse Pentastar applications where the engine and transmission come out as an assembly, skip this step and follow the procedure for unit removal with subframe drop.
Step 8: The Lift
Attach engine hoist chains to the factory lift points. On HEMI engines these are typically at the cylinder heads opposite corners. On Pentastar V6 engines the lift points are on the heads themselves. On Cummins diesel applications, dedicated lift eyes are typically already mounted to the engine.
Use a load leveler so the engine angle can be adjusted during the lift. Raise the engine just enough to take weight off the motor mounts, then unbolt both mounts from the block. Lift slowly. Watch the rear of the engine clear the firewall and the front of the engine clear the radiator support.
For Cummins applications, the lift is the highest-risk moment in the entire procedure. The engine weight, the limited clearance to the cab, and the truck-specific geometry make this the step where damage happens if attention slips.
Step 9: Engine Stand and Inspection
Mount the engine on the stand using the correct flywheel-pattern adapter plate. Use all four bolts. A toppled engine on a stand is an expensive way to end a project, and a toppled Cummins is a way to seriously hurt someone.
Once it's secure, inventory what's coming off to go onto the new engine. Harmonic balancer (use the holding tool — HEMI balancer torques are substantial, Cummins are even higher). Flexplate or flywheel. Oil pan if you're transferring it. Valve covers. Accessory brackets. Intake manifold if it's a transferable component. Clean each part. Replace any gasket or seal you're touching.
Prep Tips for the Install
Lay parts in install order on the bench. Photograph their orientation. Replace every wear item you can while access is easy — motor mounts, rear main seal if you're touching it, water pump, thermostat. For HEMI applications, replace all 16 spark plugs as a set. For Cummins applications, replace the fuel filters as part of the swap.
Before the new engine arrives, verify fitment against casting numbers on the old engine. Sourcing from our Dodge engine catalog with documented casting numbers and platform fitment removes this question before the engine ships.
And clean the engine bay while it's empty. Pressure-wash the firewall, the inner fenders, the chassis members. Touch up paint chips. Inspect for hidden corrosion. The half hour spent on cleanup is what turns an engine swap into a refresh that looks like new work when the customer sees the bay for the first time.