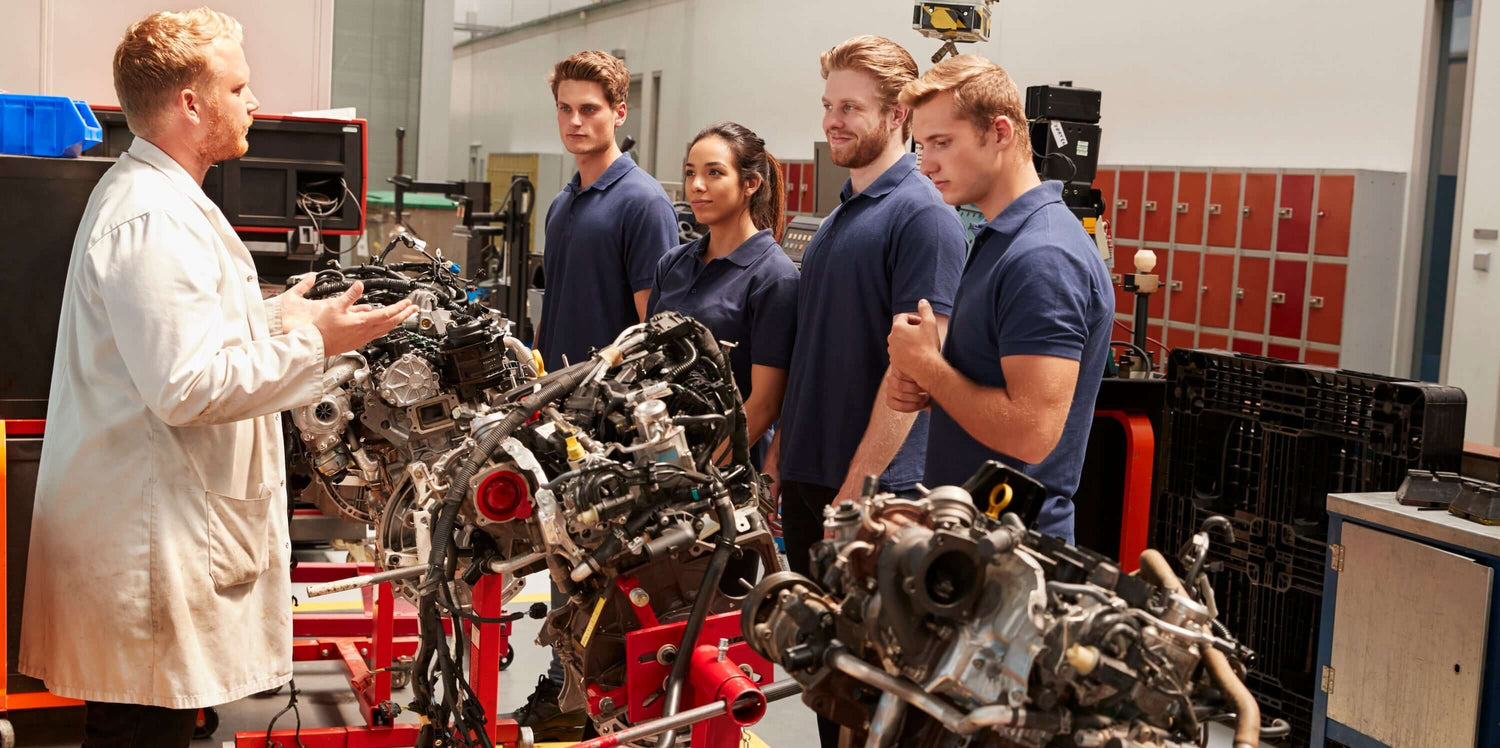
Pulling a BMW engine isn't intrinsically harder than pulling an engine from any other manufacturer, but it's less forgiving of shortcuts. The engine bays are tighter, the wiring is denser, the BMW-specific connector designs require specific handling, and the cost of damaged components is substantially higher than on most platforms. A home garage BMW engine pull is achievable for experienced techs with the right tools and patience; it's a challenging project for someone treating it like a Ford pickup pull.
This walkthrough is the prep-and-removal sequence experienced BMW specialists use, with the platform-specific notes that make each one go cleanly.
Before You Start
Spend the first hour on prep, not on bolts. Have ready: a clean workbench or shelving for parts; gallon zip-top bags and a sharpie for fastener groups; an engine stand rated for at least 1,000 pounds with the correct adapter for your BMW engine family; an engine hoist with a load leveler and rated chains; a transmission jack; drain pans for coolant and oil; a stack of rags; good shop lighting.
Tools specific to BMW work that the average garage doesn't have: BMW-specific Torx and triple-square bit kits (BMW uses these extensively in places American manufacturers use hex), 8mm and 10mm flex-head ratchets for tight engine bay access, a BMW-specific diagnostic tool (ISTA or capable equivalent), and a balancer holding tool sized for your specific BMW engine.
For M-platform applications, the prep tool list is more extensive: carbon fiber-safe handling materials, M-specific torque values reference, and ideally access to M-specific service procedures.
Step 1: Photograph Everything
Before disconnecting anything, walk around the engine bay with a phone camera and take a hundred photos. BMW engine bays are dense and the routing of components is BMW-specific in ways that don't translate well from memory.
Cover every angle. Vacuum line routing, every connector orientation, every hose clamp position, accessory belt routing. Photograph ground straps where they bolt to the block, the firewall, the chassis. Above, sides, below if you can access.
For Valvetronic-equipped engines, photograph the Valvetronic eccentric shaft sensor connector and routing carefully — cross-routing this connector on reassembly produces immediate driveability issues.
For twin-turbo applications (N54, S55), photograph the complete turbo plumbing including charge piping, wastegate vacuum lines, and turbo coolant/oil lines. The routing is BMW-specific and not always intuitive on reinstall.
Step 2: Drain Fluids
Coolant first. Let the engine cool completely. BMW cooling systems are typically pressurized through the expansion tank rather than the radiator cap — release pressure carefully. Position a drain pan under the lower radiator hose and crack the connection. On most BMW engines there's also a block drain plug that catches coolant trapped in the block.
BMW coolant is BMW-specific (typically G48 or equivalent). Note this for refill — don't substitute generic green coolant or universal coolant.
Engine oil second. Drain the crankcase before the pull.
Step 3: Battery and Fuel
Disconnect negative terminal first, then positive. BMW battery locations vary by application — trunk-mounted on some platforms, under-hood on others. Locate yours and follow proper BMW disconnect procedure.
Relieve fuel system pressure before disconnecting any fuel line. For direct-injection BMW engines (N54, N55, N20, N63, S55, B58, and most modern BMW engines), the high-pressure fuel system holds pressure substantially longer than naturally aspirated port-injection engines. Wait at least 10 minutes after engine shutoff before opening high-pressure lines. Use proper line wrenches.
Step 4: Remove Accessories
Work top-down. Air intake assembly off including the intake tube and MAF housing (where equipped). Engine cover off (BMW engine covers often have hidden retaining clips). Serpentine belt off, with routing marked. Alternator unbolted.
A/C compressor unbolted and tied back without disconnecting refrigerant lines. Power steering pump unbolted and tied back. Exhaust manifolds off, after generous overnight penetrating oil soaking on every fastener.
For N54 and S55 twin-turbo applications, the turbo plumbing comes off in a specific order. Charge pipe connections first, then wastegate vacuum lines, then turbo coolant and oil lines. Document carefully.
For N63 V8 applications, the additional emissions equipment (secondary air injection components specifically) adds steps. Document the secondary air pump connections and the related plumbing.
Step 5: Wiring Harness
Photos pay off here. Work methodically through every connector. BMW connectors use BMW-pattern locks — primary press-tab plus secondary slide or pull lock. Forcing a connector without releasing the secondary lock breaks the locking mechanism.
Label every connector. The cam position sensors, the Valvetronic eccentric shaft sensor, the VANOS solenoids (front and rear cam phasers each have their own solenoid), the high-pressure fuel pump connector, the various coolant sensors, and the turbocharger-related connectors on turbo applications all need careful documentation.
The main engine harness on most BMW applications routes through a firewall bulkhead. BMW bulkhead connectors are particularly sensitive to pin damage — inspect both halves before mating, and never force a connector that's not aligning properly.
Step 6: Cooling and HVAC
Remove radiator hoses, heater hoses (cap or plug heater core fittings), and any auxiliary cooling lines. BMW expansion tank routing varies by platform — check the specific procedure for your application.
For BMW applications with engine-driven mechanical fans (less common on modern BMW), remove the fan and shroud before raising the hoist. Most modern BMW applications use electric fans only.
For N54, S55, and other twin-turbo BMW applications, the intercooler plumbing has to be addressed before the engine can lift. Remove the intercooler hoses to allow engine clearance during the lift.
Step 7: Separate the Transmission
For automatic transmission applications (most modern BMW), mark the torque converter to the flexplate before unbolting. Remove the converter bolts through the access hole at the bottom of the bell housing. Rotate the crank by hand to bring each bolt into view.
Support the transmission with a jack stand or transmission jack before unbolting the bell housing.
For BMW manual transmission applications (less common but still present in some M-platform vehicles and certain enthusiast trims), the clutch and pressure plate stay with the transmission. Remove the bell housing bolts and slide the transmission back from the engine.
Step 8: The Lift
Attach engine hoist chains to BMW-specified lift points. Most BMW engines have dedicated lift eyes on the cylinder head or block. Use a load leveler.
Raise the engine just enough to take weight off the motor mounts, then unbolt both mounts from the block. Lift slowly. BMW engine bays are tight and the engine angle needs careful adjustment to clear the radiator support and the firewall.
For M-platform applications, the lift requires extra attention because the carbon fiber and aluminum components in the engine bay are easy to damage with even minor contact.
Step 9: Engine Stand and Inspection
Mount the engine on the stand using the correct flywheel-pattern adapter plate. Use all four bolts.
Once it's secure, inventory what's coming off to go onto the new engine. Harmonic balancer, flexplate or flywheel, oil pan if transferring, valve cover, accessory brackets, intake manifold if transferring. Clean each part. Replace any gasket or seal you're touching.
Prep Tips for the Install
Lay parts in install order. Photograph their orientation. Replace every wear item you can while access is easy. For BMW specifically, this is the right time to address platform-specific known issues if the replacement engine doesn't already have them addressed — N54 wastegate components, N55 valve cover, N63 timing chain guides, S65 rod bearings (if the new engine doesn't have them installed).
Before the new engine arrives, verify fitment against casting numbers and engine code on the old engine. Sourcing from our BMW engine catalog with documented engine codes and platform fitment removes this question before the engine ships.
And clean the engine bay while it's empty. BMW engine bays show their condition more visibly than most platforms, and a clean bay turns the engine swap into a refresh that the customer notices when they pick up the car.