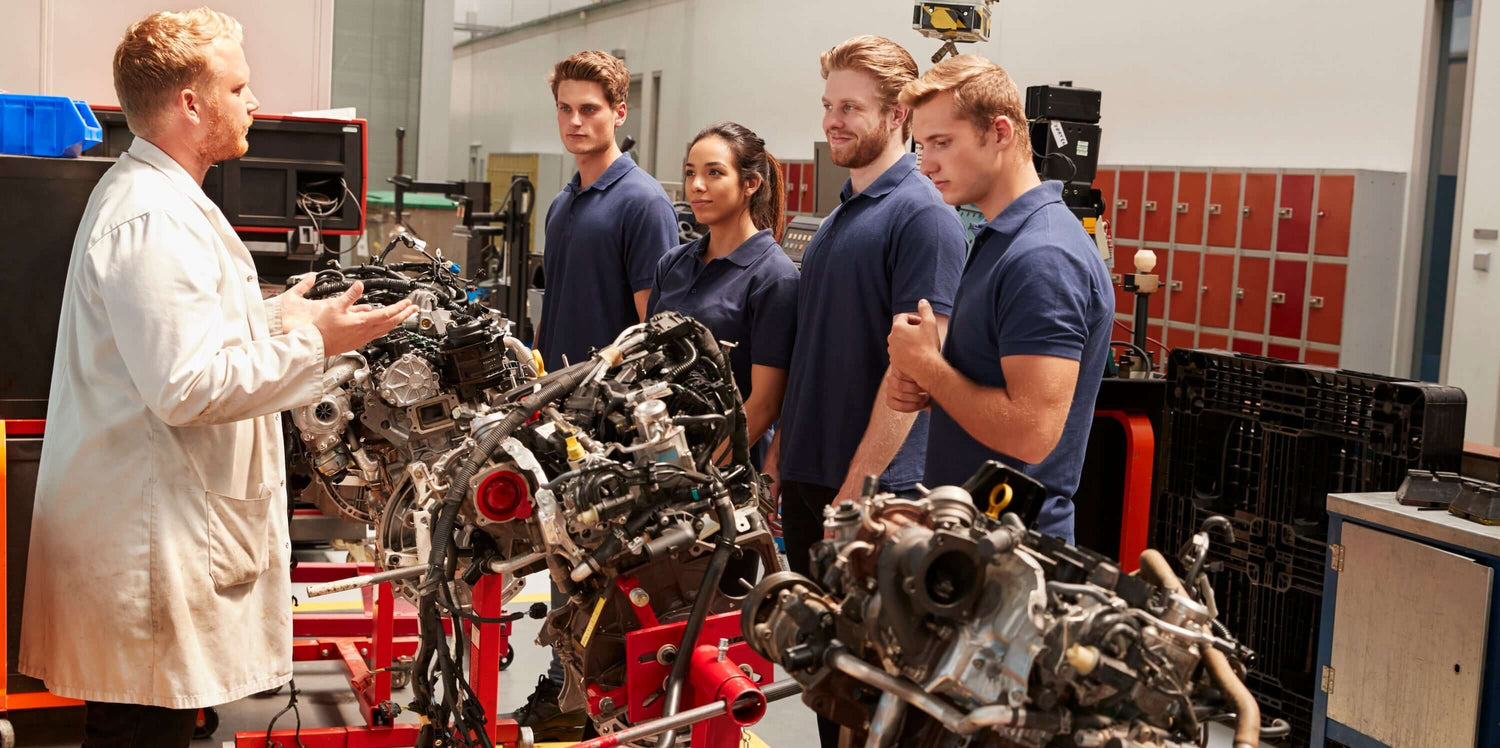
Replacing the engine in a Scion tC is a complex and time-intensive process that requires advanced mechanical skills, specialized tools, and a thorough understanding of automotive systems. If you’re not experienced with engine replacements, it’s highly recommended to consult or hire a professional mechanic. Below is a general step-by-step guide for replacing the engine in a Scion tC:
Tools and Materials Needed
-
Replacement engine (ensure it’s compatible with your Scion tC)
-
Engine hoist or lift
-
Jack stands or a hydraulic lift
-
Socket set and wrenches
-
Screwdrivers (flathead and Phillips)
-
Torque wrench
-
Pliers
-
Drain pan
-
Engine oil and coolant
-
Gasket sealant
-
Shop towels or rags
-
Safety gloves and goggles
-
Service manual for Scion tC (for torque specs and diagrams)
Step-by-Step Guide
1. Preparation
-
Park the Vehicle: Ensure the car is on a flat, stable surface. Engage the parking brake.
-
Disconnect the Battery: Remove the negative terminal of the battery to prevent electrical shorts.
-
Gather Tools and Materials: Ensure you have all the necessary tools and the replacement engine ready.
-
Consult the Service Manual: Refer to the Scion tC service manual for specific instructions and torque specifications.
2. Drain Fluids
-
Drain Engine Oil: Place a drain pan under the oil pan, remove the drain plug, and drain the oil.
-
Drain Coolant: Remove the radiator cap and drain the coolant into a container.
-
Drain Other Fluids: If necessary, drain transmission fluid or other fluids connected to the engine.
3. Remove Components Connected to the Engine
-
Remove the Air Intake System: Disconnect the air filter housing and intake tubing.
-
Disconnect Electrical Connections: Label and disconnect all sensors, wiring harnesses, and connectors attached to the engine.
-
Remove Belts and Hoses: Remove the serpentine belt, coolant hoses, and any other hoses connected to the engine.
-
Disconnect Exhaust System: Unbolt the exhaust manifold or downpipe from the engine.
-
Remove Drivetrain Components: If necessary, disconnect the transmission, driveshaft, or axles.
4. Support the Engine
-
Use an Engine Hoist: Attach the engine hoist to the engine using lifting brackets or chains.
-
Support the Transmission: Use a transmission jack or support stand if the transmission needs to be removed or supported separately.
5. Remove the Engine
-
Unbolt Engine Mounts: Locate and remove the bolts securing the engine mounts to the chassis.
-
Lift the Engine: Carefully lift the engine out of the engine bay using the hoist. Ensure no components are still connected.
-
Set the Engine Aside: Place the old engine on a stable surface or engine stand.
6. Install the Replacement Engine
-
Prepare the Replacement Engine: Inspect the replacement engine for any damage or missing components. Replace gaskets, seals, or other parts as needed.
-
Attach Engine to Hoist: Secure the replacement engine to the hoist.
-
Lower the Engine into the Bay: Carefully lower the engine into the engine bay, aligning it with the transmission and engine mounts.
-
Reattach Engine Mounts: Secure the engine mounts to the chassis using the appropriate bolts and torque specifications.
7. Reconnect Components
-
Reconnect Electrical Connections: Reattach all sensors, wiring harnesses, and connectors.
-
Reinstall Belts and Hoses: Reattach the serpentine belt, coolant hoses, and other hoses.
-
Reconnect Exhaust System: Bolt the exhaust manifold or downpipe back to the engine.
-
Reinstall Drivetrain Components: Reconnect the transmission, driveshaft, or axles if they were removed.
8. Refill Fluids
-
Add Engine Oil: Refill the engine with the recommended type and amount of oil.
-
Refill Coolant: Add coolant to the radiator and overflow tank.
-
Check Other Fluids: Refill transmission fluid, power steering fluid, or other fluids as needed.
9. Test the Installation
-
Reconnect the Battery: Reattach the negative terminal of the battery.
-
Start the Engine: Turn the ignition and check for any leaks, unusual noises, or warning lights.
-
Test Drive: Once the engine runs smoothly, take the vehicle for a short test drive to ensure everything is functioning correctly.
10. Final Checks
-
Inspect for Leaks: Check for any fluid leaks under the vehicle.
-
Tighten Bolts: Double-check all bolts and connections to ensure they are properly torqued.
-
Reset Maintenance Light: If necessary, reset the maintenance light or perform an oil life reset.
Important Notes
-
Safety First: Always wear safety gloves and goggles when working on your vehicle.
-
Torque Specifications: Use a torque wrench to tighten bolts to the manufacturer’s specifications.
-
Professional Help: If you’re unsure about any step, consult a professional mechanic.
Replacing an engine is a significant task, and mistakes can lead to costly repairs. If you’re not confident in your abilities, it’s best to leave this job to a qualified technician.


