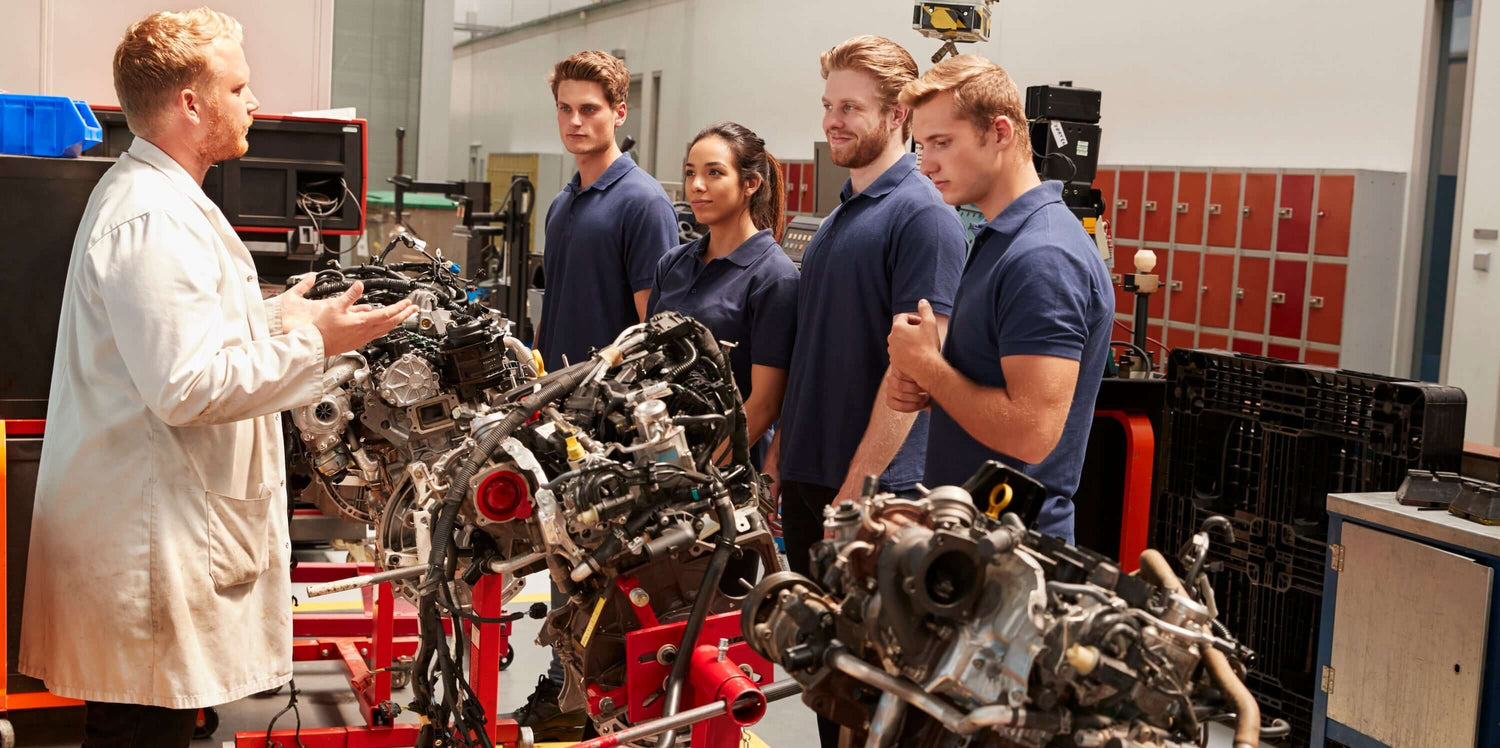
Replacing the engine in your Mitsubishi Montero (Pajero) is a challenging task but can be done with the right tools and knowledge. This step-by-step guide will walk you through the process.
Tools & Equipment Needed:
- Engine hoist (cherry picker)
- Socket and wrench set
- Screwdrivers
- Jack and jack stands
- Torque wrench
- Engine mounting bolts
- Coolant, oil, and transmission fluid
- Service manual for torque specs
Step 1: Preparation & Safety
✅ Park the vehicle on a level surface and engage the parking brake.
✅ Disconnect the battery terminals (negative first) to prevent electrical issues.
✅ Jack up the car and secure it with jack stands for stability.
Step 2: Drain Fluids
1. Place a drain pan under the engine.
2. Remove the engine oil drain plug and let the oil drain completely.
3. Remove the radiator cap and drain the coolant from the radiator.
4. If your Pajero has an automatic transmission, drain the transmission fluid as well.
Step 3: Remove the Hood & Accessories
1. Unbolt and remove the hood for better access.
2. Remove the air intake system and air filter housing.
3. Disconnect the coolant hoses leading to the radiator.
4. Remove the radiator and fan assembly for more working space.
5. Disconnect the fuel lines and label them to avoid confusion.
6. Unbolt the exhaust manifold from the engine.
Step 4: Disconnect Wiring & Hoses
1. Unplug the engine wiring harness (ECU connections, ignition coils, sensors, etc.).
2. Label the disconnected wires for easier reinstallation.
3. Disconnect the power steering pump and A/C compressor (if reusing them, don’t remove the lines—just unbolt them and move aside).
Step 5: Unbolt the Engine from Transmission & Mounts
1. If manual, disconnect the clutch and flywheel. If automatic, remove the torque converter bolts.
2. Remove the engine mounts from the chassis.
3. Support the transmission with a jack so it doesn’t sag when the engine is removed.
Step 6: Remove the Engine
1. Attach an engine hois to the engine lifting points.
2. Slowly lift the engine while checking for any still-connected components.
3. Carefully maneuver the engine out of the bay.
Step 7: Install the New/Rebuilt Engine
1. Lower the new engine into the bay slowly with the hoist.
2. Align the engine mounts and bolt them securely.
3. Attach the engine to the transmission, ensuring proper alignment.
4. Reinstall the flywheel/clutch (manual) or torque converter (automatic).
Step 8: Reconnect Wiring & Components
1. Reconnect the engine wiring harness, sensors, and ignition components.
2. Reattach the power steering pump and A/C compressor.
3. Bolt the exhaust manifold back to the engine.
4. Reinstall the radiator, coolant hoses, and air intake system.
5. Connect the fuel lines securely.
Step 9: Refill Fluids & Final Checks
1. Refill with fresh engine oil.
2. Add coolant and bleed the cooling system properly.
3. If applicable, refill transmission fluid.
4. Reconnect the battery terminals (positive first, then negative).
Step 10: Start & Test the Engine
✅ Double-check all connections and bolts.
✅ Turn the ignition without starting to let the fuel pump prime.
✅ Start the engine and listen for any unusual noises.
✅ Check for leaks (oil, coolant, fuel, transmission fluid).
✅ Monitor engine temperature and idle speed.
✅ Take a short test drive to ensure proper performance.
Installing a Mitsubishi Montero (Pajero) engine requires patience and attention to detail. By following this step-by-step guide, you can successfully replace your engine and get back on the road with confidence! 🔧💨
💡 Pro Tip: Always torque bolts to factory specifications and double-check everything before starting the engine.


