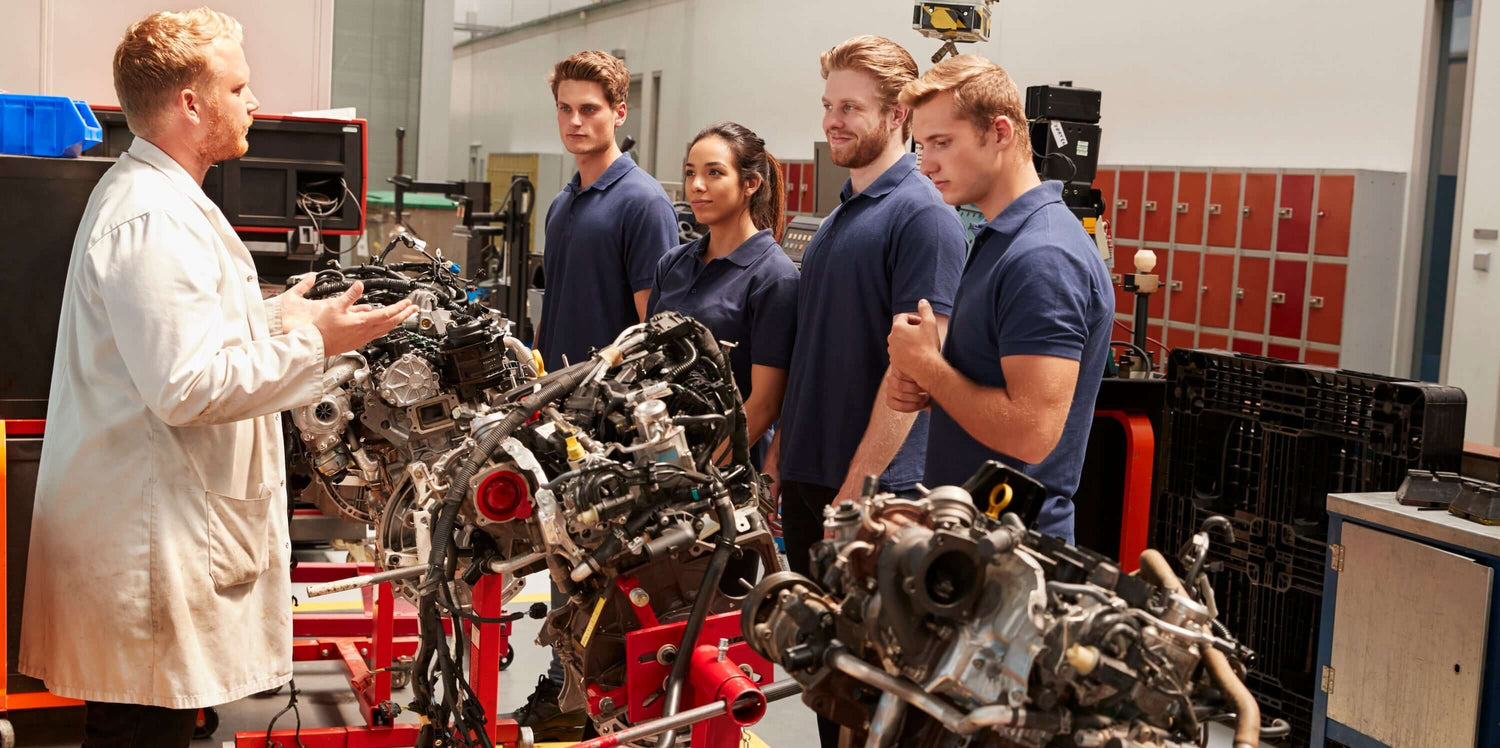
Installing an engine in a Kia Rio is a complex and detailed process that requires mechanical expertise, the right tools, and strict adherence to safety protocols. Below is a general step-by-step guide to help you understand the process. However, if you're not experienced, it's highly recommended to consult a professional mechanic or refer to the vehicle's service manual for detailed instructions.
Tools and Materials Needed
-
Engine hoist (cherry picker)
-
Engine stand (optional)
-
Socket set and wrenches
-
Screwdrivers
-
Torque wrench
-
Jack and jack stands
-
Transmission jack (if removing/installing with transmission)
-
New engine mounts (if needed)
-
Gaskets, seals, and fluids (oil, coolant, etc.)
-
Shop towels and cleaning supplies
-
Safety gear (gloves, safety glasses, etc.)
Step-by-Step Guide
1. Preparation
-
Park the vehicle on a flat surface and engage the parking brake.
-
Disconnect the negative battery terminal to prevent electrical shorts.
-
Drain all fluids from the engine (oil, coolant, etc.) into appropriate containers.
-
Remove any components that may obstruct engine removal (e.g., air intake, radiator, fan shroud, etc.).
2. Disconnect Electrical and Fuel Systems
-
Label and disconnect all electrical connectors, sensors, and wiring harnesses attached to the engine.
-
Disconnect the fuel lines and cap them to prevent leaks.
-
Remove the alternator, starter motor, and other accessories if necessary.
3. Disconnect Mechanical Components
-
Remove the drive belts (serpentine belt, A/C belt, etc.).
-
Disconnect the exhaust system from the engine (manifold or downpipe).
-
Disconnect the transmission from the engine (if removing the engine separately).
-
Remove the driveshaft if the transmission is being removed with the engine.
4. Support the Engine and Transmission
-
Use an engine hoist to support the engine.
-
If the transmission is being removed with the engine, use a transmission jack to support it.
-
Remove the engine mounts and crossmember as needed.
5. Remove the Engine
-
Carefully lift the engine out of the engine bay using the hoist.
-
Ensure all connections are disconnected before fully removing the engine.
-
Place the old engine on an engine stand for inspection or disposal.
6. Prepare the New Engine
-
Inspect the new engine for any damage or missing components.
-
Transfer necessary parts from the old engine to the new one (e.g., sensors, brackets, etc.).
-
Install new gaskets, seals, and engine mounts as needed.
7. Install the New Engine
-
Carefully lower the new engine into the engine bay using the hoist.
-
Align the engine with the transmission and reattach the engine mounts.
-
Reconnect the transmission to the engine if it was removed separately.
8. Reconnect Mechanical Components
-
Reattach the exhaust system, drive belts, and accessories.
-
Reconnect the fuel lines and electrical connectors.
-
Reinstall any components that were removed (e.g., radiator, air intake, etc.).
9. Refill Fluids
-
Add new engine oil and coolant.
-
Check and refill other fluids (brake fluid, power steering fluid, etc.) as needed.
10. Test the Installation
-
Reconnect the negative battery terminal.
-
Start the engine and check for leaks or unusual noises.
-
Test drive the vehicle to ensure everything is functioning properly.
Important Notes
-
Always refer to the Kia Rio service manual for specific torque specifications and procedures.
-
Double-check all connections and ensure everything is properly tightened.
-
If you're unsure about any step, consult a professional mechanic.
Installing an engine is a significant task, and mistakes can lead to costly repairs or safety hazards. Take your time and prioritize safety throughout the process.


