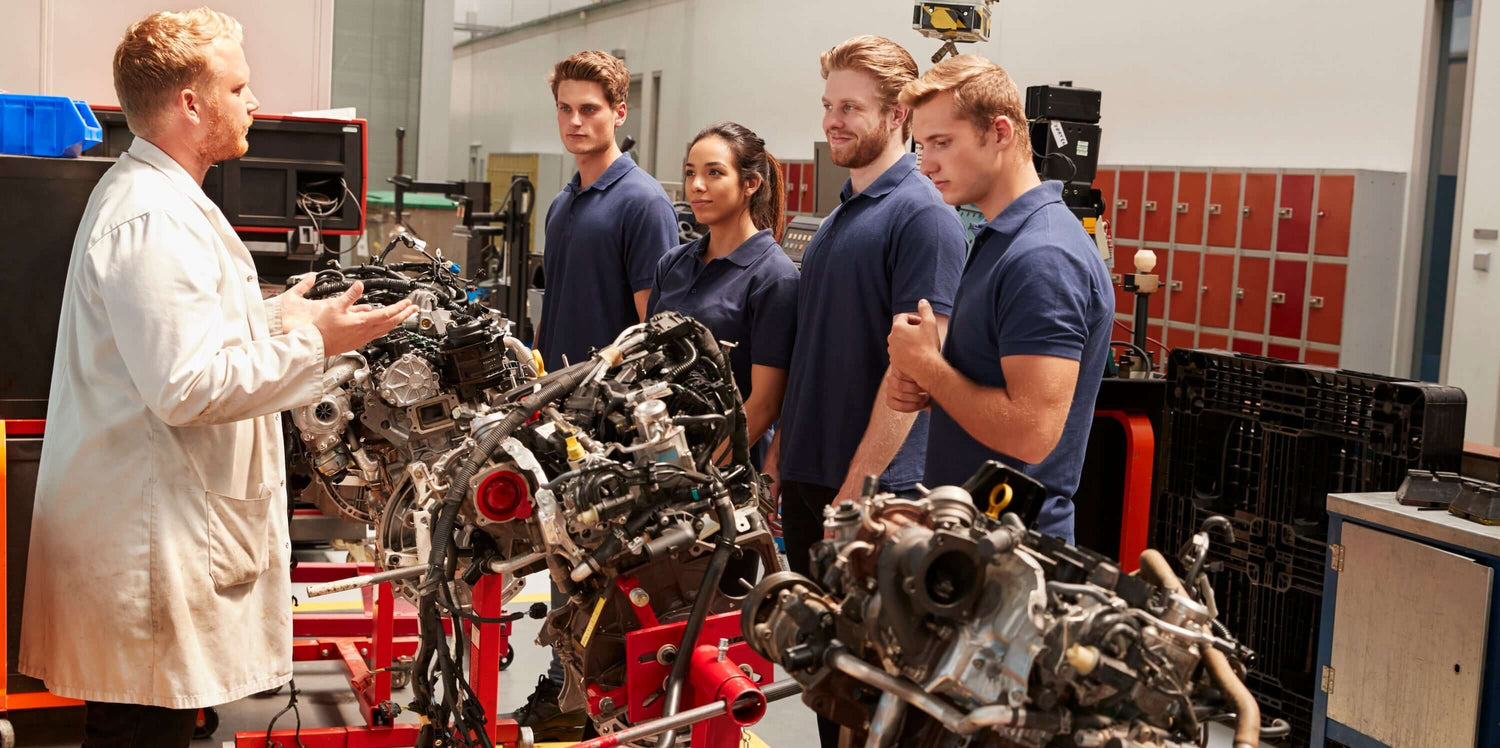
Replacing a car engine in your own garage may sound like something only race-team mechanics attempt, yet thousands of weekend wrenchers successfully complete an engine swap every year. Whether you’re chasing more horsepower, rescuing a faithful daily driver with a blown block, or upgrading to a fuel-efficient remanufactured unit, the process follows the same fundamentals. This guide walks you step-by-step through how to replace a car engine in your garage while keeping costs under control, staying safe, and maximizing the long-term reliability of your ride.
Safety First
Before turning a single bolt, make safety and planning your top priorities. Swapping an engine involves heavy components, combustible fluids, and electrical systems. Always wear ANSI-rated eye protection and mechanic’s gloves, disconnect the battery’s negative cable first, and work on level concrete. Rent or buy a quality two-ton engine hoist, a sturdy engine stand, and a complete metric/SAE socket set. Having the correct gear up front prevents mid-project delays and reduces the odds of injury.
Identifying Your Vehicle
Next, source the right replacement engine. Identify your vehicle’s year, make, model, engine code, and VIN to avoid mismatched sensors or incompatible mounts. Decide between a new crate engine, a low-mileage salvage-yard pull, or a professionally remanufactured long block. Many DIYers favor reman units because they’re rebuilt to factory specs, include updated gaskets, and often ship with warranties that rival new engines—yet cost significantly less. If you plan performance upgrades like forged pistons or a high-lift cam, make sure emissions regulations in your state still allow street registration.
Ordering Correct Parts
With parts ordered, prepare the workspace. Label storage bins for fasteners, sensors, and brackets so reassembly is intuitive. Snap photos of hose routing and wiring harnesses for reference. Drain coolant and oil into sealed containers, cap fuel lines, and remove the radiator to create clearance. Unbolt the hood—enlist a friend to help—to gain vertical space for the hoist. Apply penetrating oil to exhaust flange bolts a day in advance to reduce the risk of snapped studs that can stall your progress.

Beginning The Process
Now begin the tear-down. Start at the top: remove the air intake, throttle body, ignition coils, and fuel rail, labeling connectors with masking tape. Continue with accessory belts, alternator, power-steering pump, and A/C compressor. Rather than disconnecting refrigerant lines, unbolt the compressor and zip-tie it aside to avoid recharging the system later. Underneath the car, support the transmission with a jack and disconnect the driveshaft if it’s rear-wheel drive. Undo motor mounts, transmission bell-housing bolts, and any ground straps before attaching the hoist chains to rated lifting points on the engine.
With tension on the chain, double-check that no coolant hoses, wiring, or fuel lines remain. Raise the hoist slowly while guiding the engine clear of the bay. Transition it directly onto the engine stand to access rear-main bolts, flywheel, and oil pan. Inspect the clutch or torque converter for wear; replacing these now is easier than dropping the transmission later. Clean the engine bay thoroughly—degreasing hidden grime improves cooling and makes spotting future leaks simple.
Prepare your new or remanufactured engine by swapping over components that didn’t come pre-installed: intake manifold, exhaust manifolds, sensors, and brackets. Replace all rubber seals, O-rings, and vacuum hoses to prevent nagging leaks. Use a calibrated torque wrench and follow factory-service-manual specs for every fastener. While the engine is on the stand, prime the oil pump by spinning it with a drill (if design allows) or pre-filling the oil filter to minimize dry starts.
Installation is the reverse of removal, but take extra care aligning the input shaft with the clutch splines or torque-converter pilot. Lower the block slowly, checking that motor-mount studs seat correctly and that no wiring gets pinched. Hand-thread all bell-housing bolts before torquing to avoid cross-threading. Reconnect exhaust, driveshaft, accessories, and cooling system, replacing any brittle plastic clips you damaged during disassembly.
Once everything is bolted up, refill fluids: fresh engine oil of the correct weight, long-life coolant, and power-steering fluid. Bleed the cooling system to purge air pockets that cause overheating. Reconnect the battery, turn the key to the ON position for a few seconds to pressurize fuel lines, then crank the starter. The engine should fire within three to five seconds. Immediately check oil pressure, listen for abnormal knocks, and inspect for leaks. Allow the engine to reach operating temperature, verifying thermostat operation and stable coolant level.

After the Installation
The first 500 miles are a crucial break-in period. Keep RPMs below 3,500, vary engine speed on long drives, and avoid lugging in high gears. After 50–100 miles, re-torque header bolts and double-check fluid levels. At 500 miles, change the oil and filter to flush break-in debris. Maintain this proactive approach, and your engine swap will reward you with years of dependable service.
Replacing a car engine in your garage isn’t a weekend stroll, but with careful planning, the right tools, and attention to detail, it’s a realistic project for the skilled DIY enthusiast. Not only do you save on labor costs, you gain intimate knowledge of your vehicle’s heartbeat and the satisfaction of breathing new life into a trusted set of wheels. When you need a dependable replacement powerplant, expert guidance, or a complete line of gaskets and accessories, New Jersey motorists can count on Power Engines—your local engine dealer committed to quality, warranty-backed products, and personalized service that keeps every swap running strong.


