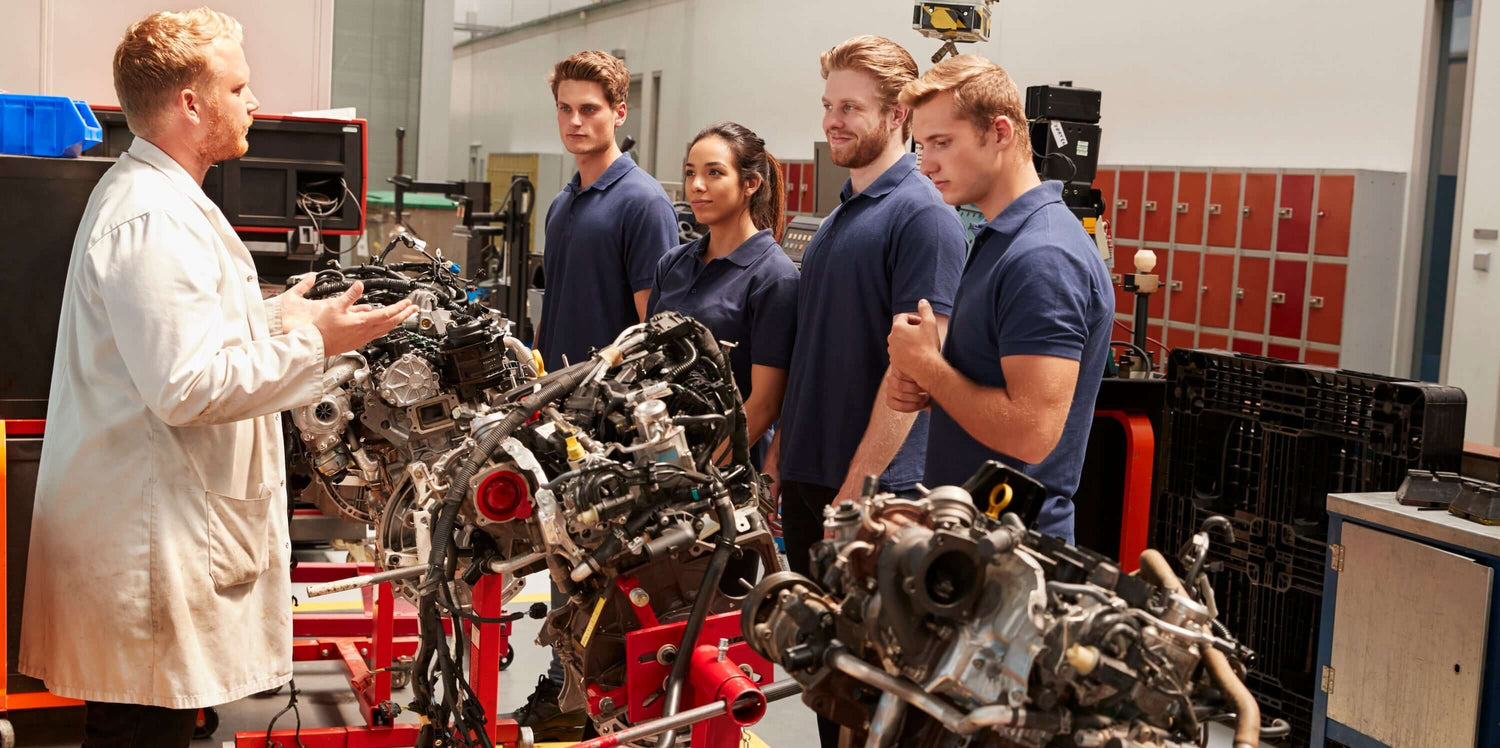
The Acura ILX from 2013 to 2015 offers sporty handling and premium comfort, but even reliable sedans eventually face engine problems due to high mileage, oil leaks, or mechanical failure. Replacing the engine can restore performance, fuel efficiency, and reliability, keeping your ILX on the road for years. This step-by-step guide outlines the process in detail. At Power Engines, we provide OEM-spec, road-legal replacement engines specifically designed to fit Acura models like the ILX, ensuring compliance and ease of installation.
Preparation and Tools Required
Before you begin, gather essential tools such as an engine hoist, hydraulic jack, jack stands, complete metric socket and wrench sets, torque wrench, screwdrivers, pliers, and drain pans. You’ll also need fresh fluids, including coolant, engine oil, and transmission fluid. Park the ILX on level ground, disconnect the battery, and allow the vehicle to cool fully before beginning the job.
Step 1: Remove the Hood and Drain Fluids
Unbolt and remove the hood to create working space. Drain all fluids—engine oil, coolant, and transmission fluid—into proper containers for safe disposal. This keeps your workspace clean and safe.
Step 2: Disconnect Wiring, Sensors, and Fuel Lines
Label and disconnect all wiring harnesses, sensors, and vacuum hoses. Relieve pressure in the fuel system and disconnect the fuel lines carefully. Using tape markers or photos will make reassembly much easier.
Step 3: Remove Accessories and Cooling Components
Detach the alternator, A/C compressor, and power steering pump. In many cases, these can be left connected to their lines and secured aside. Remove the radiator, cooling fans, and hoses to clear space for the engine removal.
Step 4: Disconnect Exhaust and Transmission
Unbolt the exhaust manifold from the catalytic converter or downpipe. Support the transmission with a jack, then remove the bolts securing it to the engine block. For automatic ILX models, disconnect the torque converter bolts; for manual versions, remove the clutch assembly.
Step 5: Remove Motor Mounts and Extract the Engine
Unbolt the motor mounts from both sides. Secure the engine to a hoist using lifting points, then carefully raise it out of the bay. Always check that all wires, hoses, and lines are disconnected before extraction.
Step 6: Prepare the Replacement Engine
Transfer necessary components such as the intake and exhaust manifolds, sensors, and brackets from the old engine to the new one. Replace seals, belts, and gaskets during this stage. At Power Engines, our Acura-compatible replacement engines are manufactured to OEM standards, ensuring emissions compliance and direct fitment.
Step 7: Install the New Engine
Lower the replacement engine into the bay using the hoist, aligning it with the transmission and motor mounts. Torque all bolts to Acura’s specifications. Reconnect the exhaust, transmission, and all accessory components securely.
Step 8: Reconnect Wiring, Fuel, and Cooling Systems
Reinstall wiring harnesses, sensors, fuel lines, and vacuum hoses. Refit the radiator, fans, and coolant hoses. Refill with fresh oil, coolant, and transmission fluid. Double-check all connections before proceeding.
Step 9: Test and Break-In
Reconnect the battery and turn the ignition to ON to prime the fuel system. Start the engine and let it idle, monitoring for leaks, unusual noises, or dashboard warnings. Allow it to reach normal operating temperature. For the first 500 miles, avoid aggressive driving or high RPMs. Perform an oil change after this break-in period to maximize engine longevity.
Replacing the engine in a 2013–2015 Acura ILX is a detailed process that restores the sedan’s dependable performance. With careful preparation and the right tools, it can be completed successfully. To guarantee quality and compliance, always source your replacement from Power Engines, where every engine is built to OEM specifications and designed for long-lasting reliability.


